Quick answer: To connect a Namecheap domain to your host, either switch the domain to your host’s nameservers (Domain List → Manage → Nameservers → Custom DNS) or keep Namecheap’s DNS and add the A and CNAME records your host gives you on the Advanced DNS tab. SiteGround and Hostinger accept either method, and Kinsta usually uses records. Move your email records first if the firm already uses email on the domain, or email can stop.
Key takeaways
- Your host’s dashboard tells you exactly which nameservers or records to use. Copy them from there rather than from any guide, including this one.
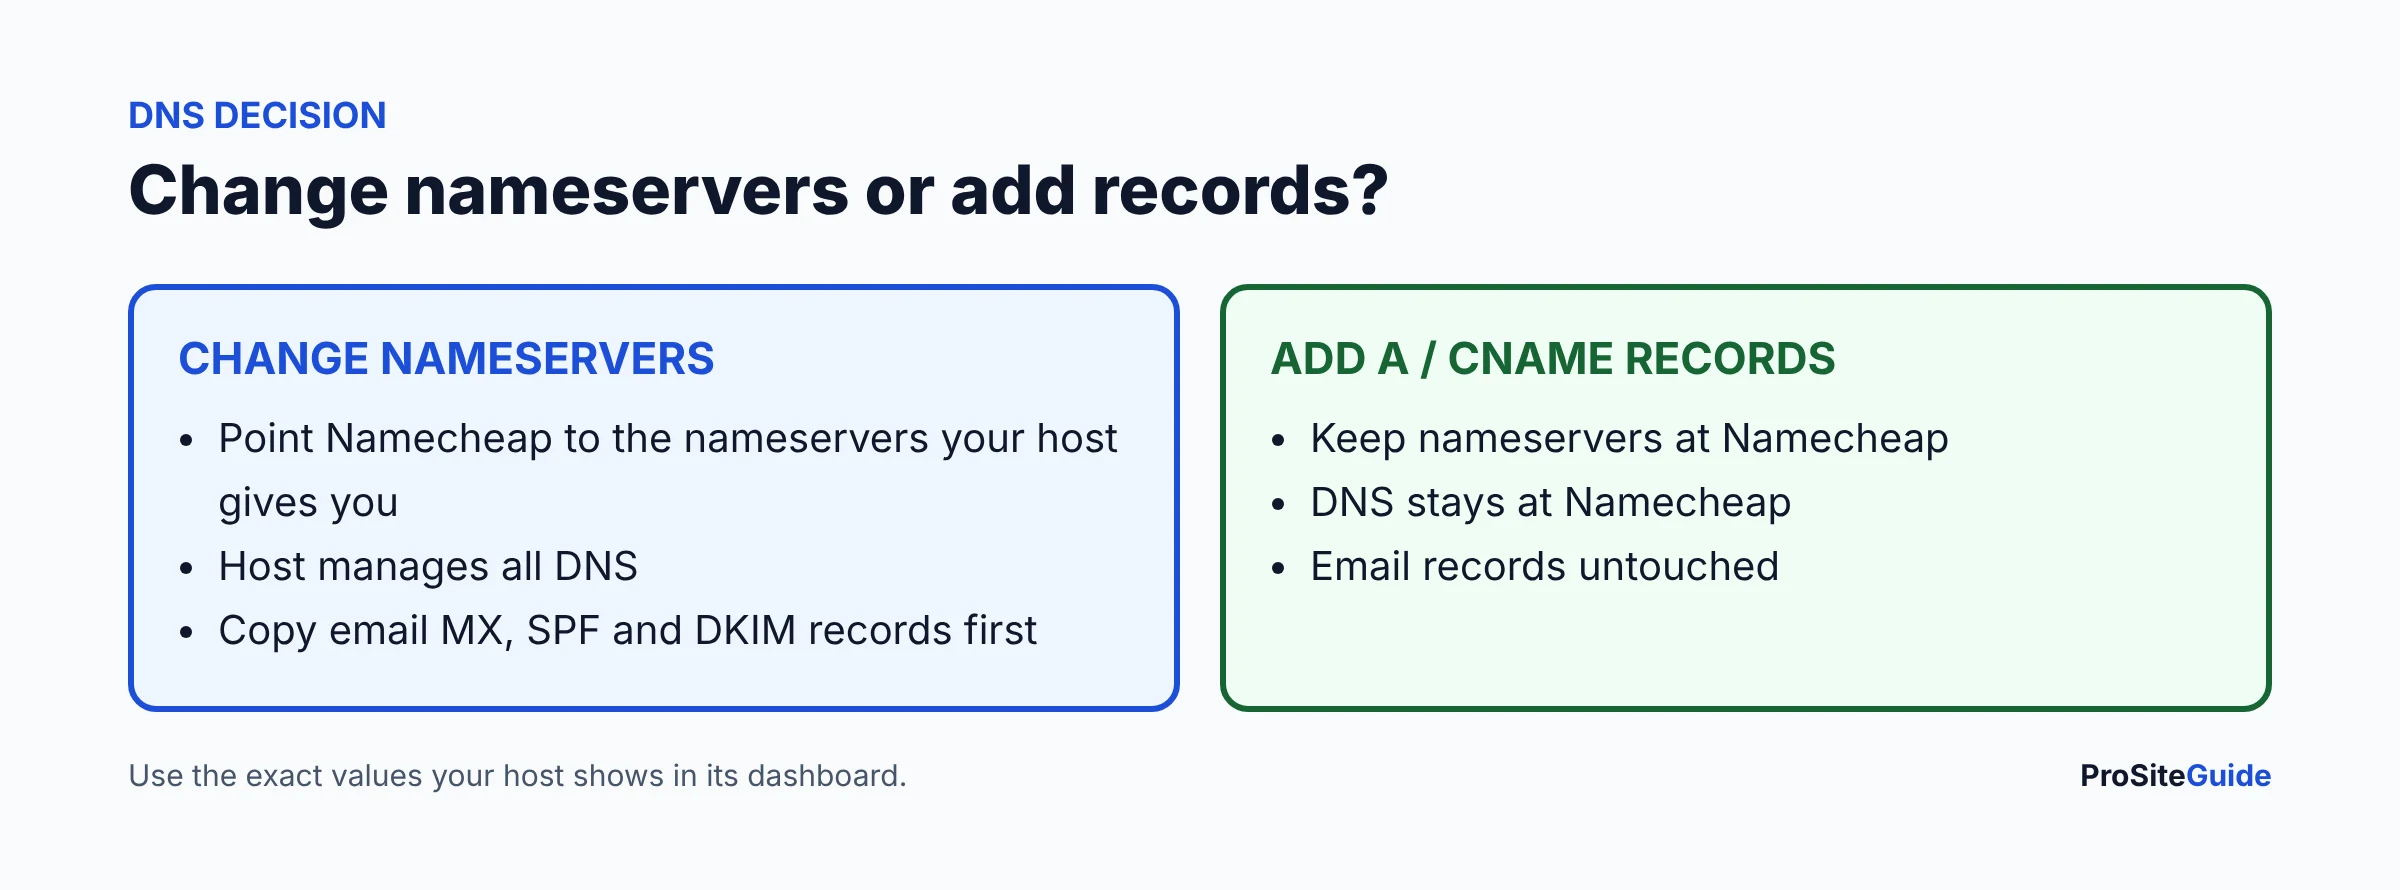
- Changing nameservers moves all DNS to your host, including email records. Keeping Namecheap DNS and adding records changes only the website.
- If the firm already sends and receives email on the domain, list the current MX, SPF, DKIM and DMARC records before you change anything.
- Most changes take effect within an hour but can take up to 48 hours.
Before you start: nameservers or records?
| Method | What you change in Namecheap | Where DNS lives afterwards | Best when |
|---|---|---|---|
| Change nameservers | Nameservers → Custom DNS | At your host | The host manages everything and you have no other services on the domain yet |
| Add records | Advanced DNS → Host Records | Stays at Namecheap | You already use email on the domain, or you want DNS in one place you control |
For most established firms, adding records is the safer choice because the firm’s email setup does not move. For a brand-new domain with no email yet, either method is fine.
Step 1: Note your current DNS records
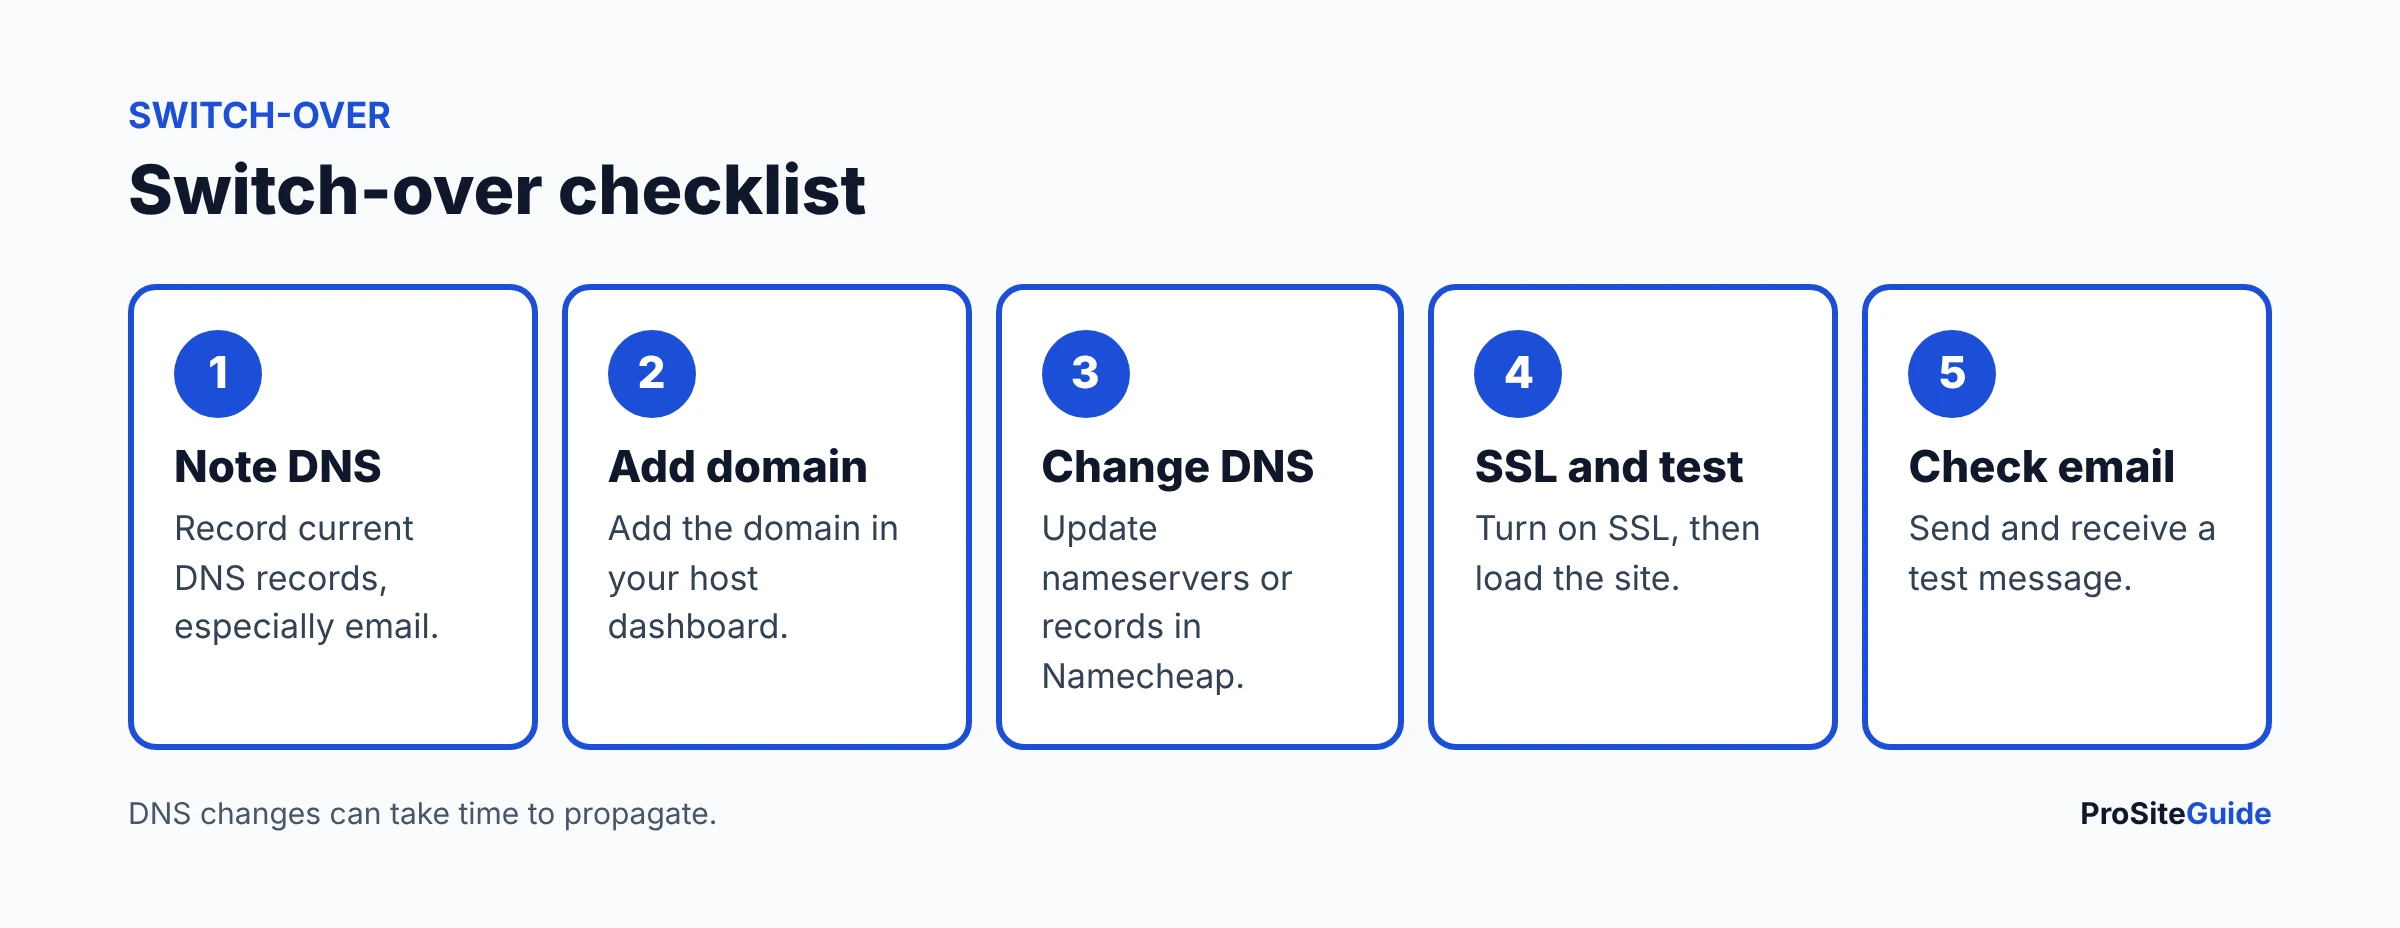
Log in to Namecheap, open Domain List, click Manage next to the domain and open Advanced DNS. Take a screenshot of the Host Records and Mail Settings sections. If anything breaks later, this is how you put it back.
Step 2: Add the domain in your host’s dashboard
Kinsta
In MyKinsta, open your site, go to Domains and click Add domain. Kinsta asks you to prove you own the domain with a TXT record, then shows the records that point the domain to your site. Add those records at Namecheap (Step 3, Method B). Kinsta also offers its own DNS service; if you prefer that, MyKinsta shows the nameservers to use in Method A instead. New to Kinsta? Read our Kinsta review.
SiteGround
In SiteGround’s Site Tools, the dashboard’s site information panel shows both the site’s IP address and SiteGround’s nameservers. Use the nameservers (Method A) if you want SiteGround to manage DNS, or the IP address in an A record (Method B) to keep DNS at Namecheap. See our SiteGround review.
Hostinger
In Hostinger’s hPanel, add the domain to your website. hPanel then shows Hostinger’s nameservers and the IP address for the site. Either method works. See our Hostinger review or the Hostinger build guide.
Step 3: Make the change in Namecheap
Method A: point the nameservers to your host
- In Domain List, click Manage next to the domain.
- Find the Nameservers section and change the dropdown from Namecheap BasicDNS to Custom DNS.
- Paste the first nameserver from your host, click Add Nameserver, and paste the second.
- Click the green checkmark to save.
- Re-create any email records at your host, using your screenshot from Step 1.
Method B: keep Namecheap DNS and add records
- Open the Advanced DNS tab for the domain.
- Under Host Records, delete any parking-page records Namecheap added (often a CNAME for
wwwand a URL Redirect for@). - Click Add New Record and choose A Record. Host:
@. Value: the IP address from your host. Leave TTL on Automatic. - Add a CNAME Record with host
wwwpointing to the value your host gives (often your root domain or a host-provided address), or a second A record if your host asks for one. - Add any TXT verification record your host asks for, then save each record with the green checkmark.
Step 4: Turn on SSL and test
Once DNS has updated, your host issues a free SSL certificate (Kinsta, SiteGround and Hostinger all include one). Visit your domain with https:// and with and without www. Both should load your site with a padlock. If the old parking page still shows, wait an hour and clear your browser cache.
Step 5: Check email still works
Send a test email to and from a firm address. If you changed nameservers, confirm your MX, SPF, DKIM and DMARC records exist at the host. Our Google Workspace setup and Microsoft 365 setup guides list the right values.
Common problems
- Site still shows a Namecheap parking page: the default parking records are still in Advanced DNS. Remove them.
- “Not secure” warning: SSL has not been issued yet, or the domain is not added correctly at the host. Check the host’s SSL panel.
- Email stopped after a nameserver change: the email records were not copied to the host. Add them from your Step 1 screenshot.
- www works but the root domain does not (or the reverse): one of the A or CNAME records is missing.
FAQ
Should I move the domain to my host instead?
Usually not. Keeping the domain at a registrar like Namecheap, separate from hosting, makes it easier to change hosts later. Our guide to moving hosts explains why.
How long does DNS take to update?
Usually under an hour, but allow up to 48 hours. Lowering the TTL a day before the change can make it faster.
Can I use Cloudflare in between?
Yes. Point the Namecheap nameservers to Cloudflare, then add your host’s records in Cloudflare. See our Cloudflare guide.
Next steps
- Don’t have a domain yet? Search for one at Namecheap and follow our Namecheap registration guide.
- Still choosing a host? Compare them in our law firm hosting guide.
- Lock it down with the website security checklist.
Want this handled for you? ProSiteGuide builds and maintains fast, secure WordPress sites for law firms. Book a free consultation.
7 comments